Description
In this course, you will learn:
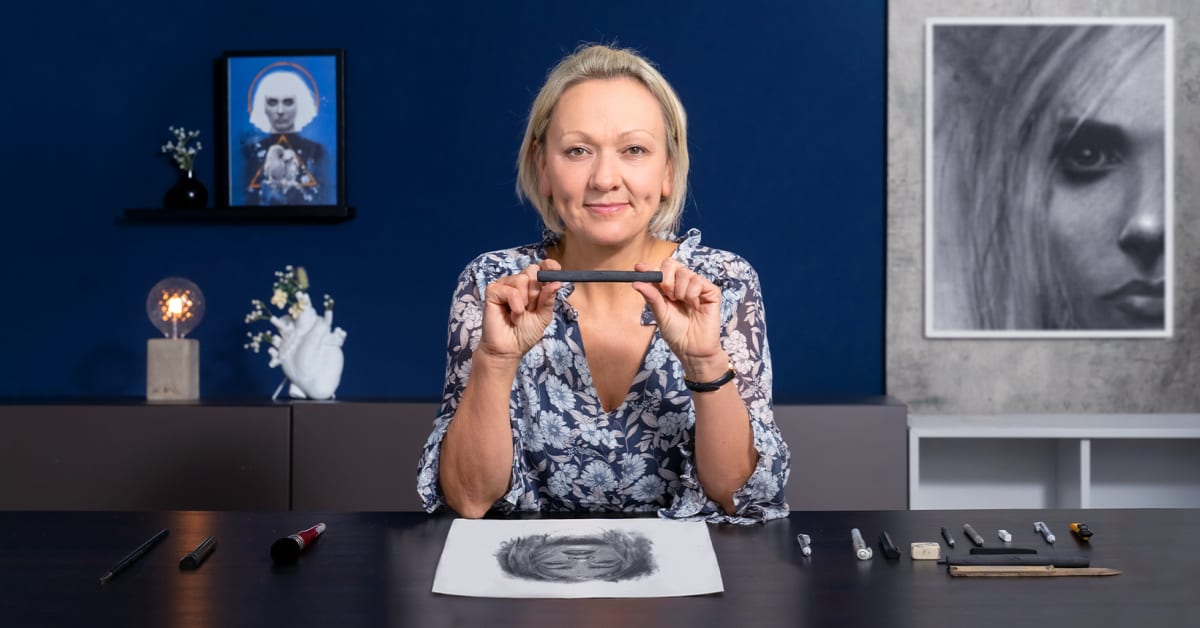
- Get to know the tools you'll be using and practice applying, rubbing, and lifting techniques.
- Learn about tonal values, why they're important, and how to use them correctly in your work.
- By sketching an eye from a photograph, you can practice the gridding approach.
- Learn how to pick the ideal photos for your post based on mood, style, and composition.
- Create a grid for applying and altering your charcoal, then add some twists and abstract approaches for movement and mood to your drawing.
- With Photoshop and Procreate, add the finishing touches to your drawing and share it with your social network followers.
- Finally, check out Sarah's last suggestions for extending your experimentation with charcoal and other materials.
Syllabus:
-
Introduction
-
About Me
-
Influences
-
What We Will Do in This Course
-
-
Materials, Tone and How to Draw an Eye in Charcoal
-
Exploring Materials and Equipment
-
How to Use Your Materials 1
-
How to Use Your Materials 2
-
How to Train Your Eyes to See Tonal Values
-
Creating a Tonal Value Tool
-
Gridding and Drawing an Eye
-
Applying Charcoal to the Drawing
-
-
Image Choices and How to Draw Our Initial Sketch onto Paper
-
The Essence of an Atmospheric Portrait and Where to Get Our Inspiration
-
Chose a Photograph and Make It Charcoal Friendly
-
Gridding Up the Face
-
-
Applying the Charcoal
-
First Layers and Golden Rules for Applying Charcoal 1
-
First Layers and Golden Rules for Applying Charcoal 2
-
Blending and Reestablishing Lights and Darks 1
-
Blending and Reestablishing Lights and Darks 2
-
Render Hair and Abstract Elements 1
-
Render Hair and Abstract Elements 2
-
-
How to Take Your Skills to the Next Level
-
The Importance of Composition in Drawing
-
Fixing and Scanning Your Work
-
Let's Experiment
-
-
Final Project
-
Artistic Charcoal Portraiture: Creating Atmosphere
-
