Description
In this course, you will learn:
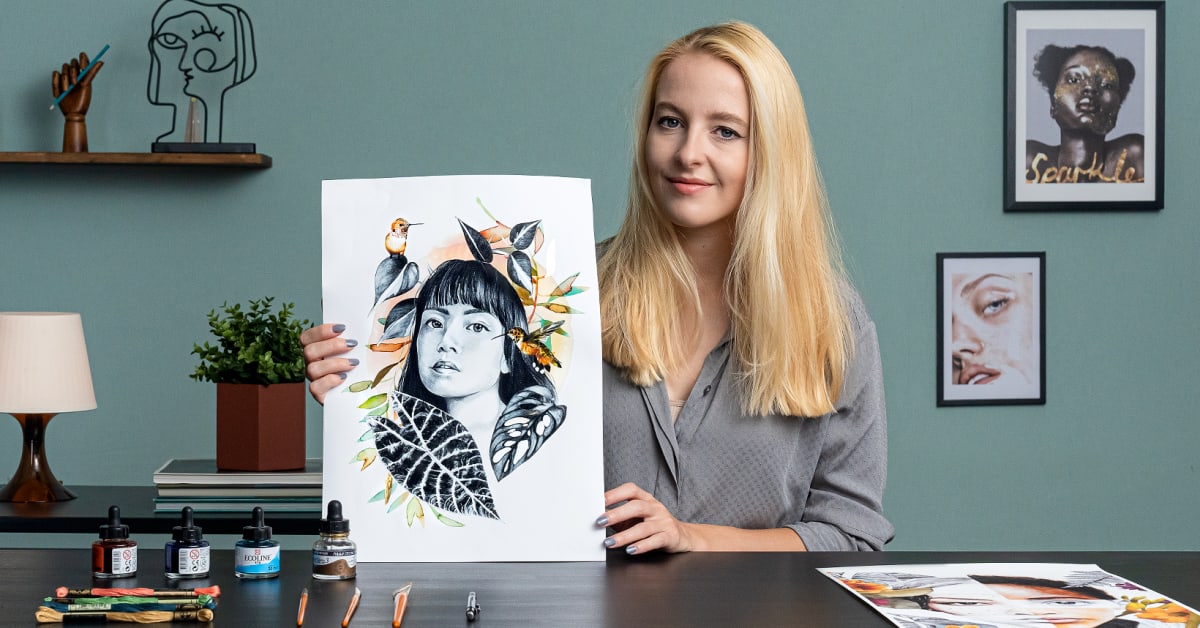
- Prepare your chosen reference photo by correcting levels in Photoshop, and then begin studying some fundamental watercolor techniques to help bring your picture to life.
- Then, in Photoshop, create a rough collage of your final illustration to learn the fundamentals of outstanding composition.
- Learn how to utilize a lightbox to draw the shape of your portrait after printing off the picture layout, then get some pointers on creating your final sketch.
- Begin adding decorative elements to your design and learn how to import your drawings into Photoshop.
- Create layers with some simple tools to add color and texture to your project.
- Start adding backdrops and learn some of Amy's strategies for making your work more interesting.
- Finally, get some advice on printing your artwork with Giclée printing, which is the best way for replicating work with a lot of detail.
- Finish up by brainstorming ways to hand-finish the final print, such as using paint, embroidery, or metal leaf techniques.
Syllabus:
-
Introduction
-
About Me
-
Influences
-
What We Will Do in the Course?
-
-
Preparation
-
Materials
-
Finding Inspiration & Research
-
Photoshop Editing
-
Basic Watercolour Techniques / Understanding Watercolour
-
-
Creating the Portrait
-
Rough Sketching in Photoshop
-
Tracing the Outline
-
Detailed Pencil Drawing
-
-
Adding Creative Elements
-
Decorative Elements
-
Working in Photoshop 1
-
Working in Photoshop 2
-
Editing and Adding in Other Items 1
-
Editing and Adding in Other Items 2
-
-
Final Touches and Printing
-
Recommendations for Fine Art Printing
-
Final Touches
-
-
Final Project
-
Portrait Illustration with Analog and Digital Techniques
-


