Description
In this course, you will learn:
- Learn the differences between needle sizes and how to select the ideal yarn for your project.
- Sara experiments with various colour palettes and cold and warm tones to produce a colour gradient in which the various colours of yarn complement each other.
- Sara offers advice on how to choose the best portrait shot.
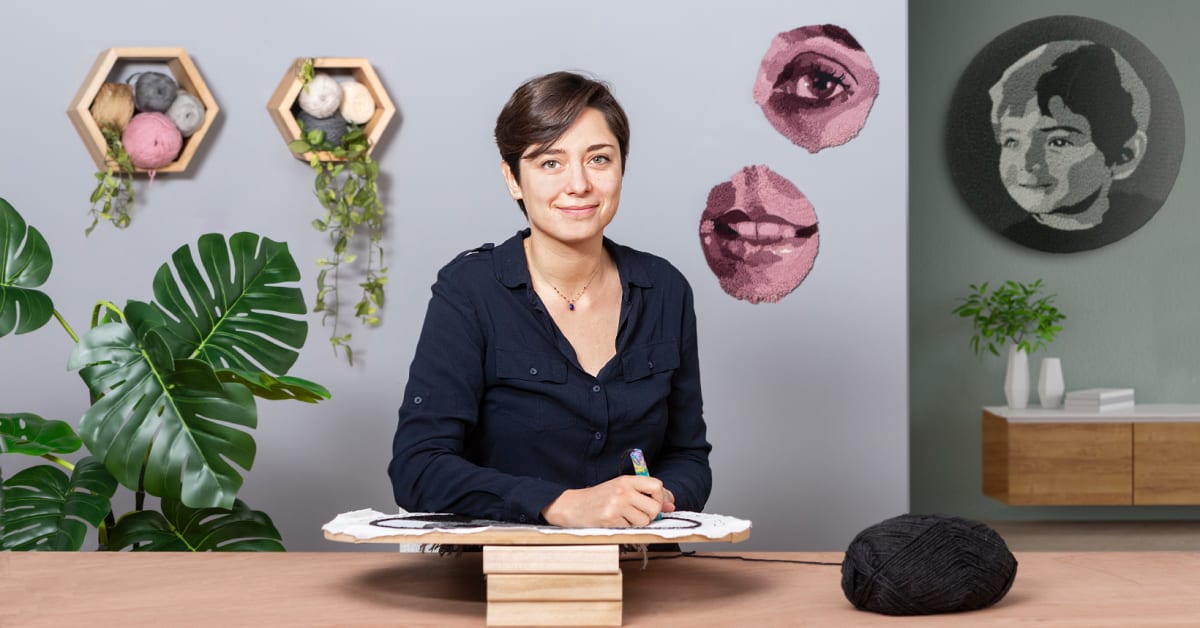
- Learn how to use several techniques to add heart and depth to your stitched image. The secret is in the precise directions your needle must travel in order to generate the intended effect.
- Begin with the darker tones, which contain more information, and progress to the lighter tones.
- Fill in the background of your portrait to complete it.
- Make it more sturdy and robust, as well as properly centre it. Now it's time to hang your stitched image and brighten up the room.
Syllabus:
-
Introduction
-
About Me
-
Influences
-
What We Will Do in This Course?
-
-
Getting Ready
-
Materials
-
Choosing the Right Color Palettes
-
Photography
-
-
Pattern-making
-
The Preparation of the Digital Photo
-
Handmade Pattern-making
-
-
Let's Start Punching
-
Transferring and Framing
-
How to Know in Which Direction to Punch
-
Start Punching Your Portrait
-
Finalize the Face with the Lighter Tones
-
The Background
-
-
How to Present Your Piece of Art
-
Final Touches
-
Sealing the Back, Framing and Recommendations
-
-
Final Project
-
Punch Needle Embroidery: From Pictures to Portraits
-


