Description
In this course, you will learn:-
- Students will have produced all of the pieces utilised in the rowboat mechanism, as well as the assembly and motion, by the end of my course.
Syllabus:-
-
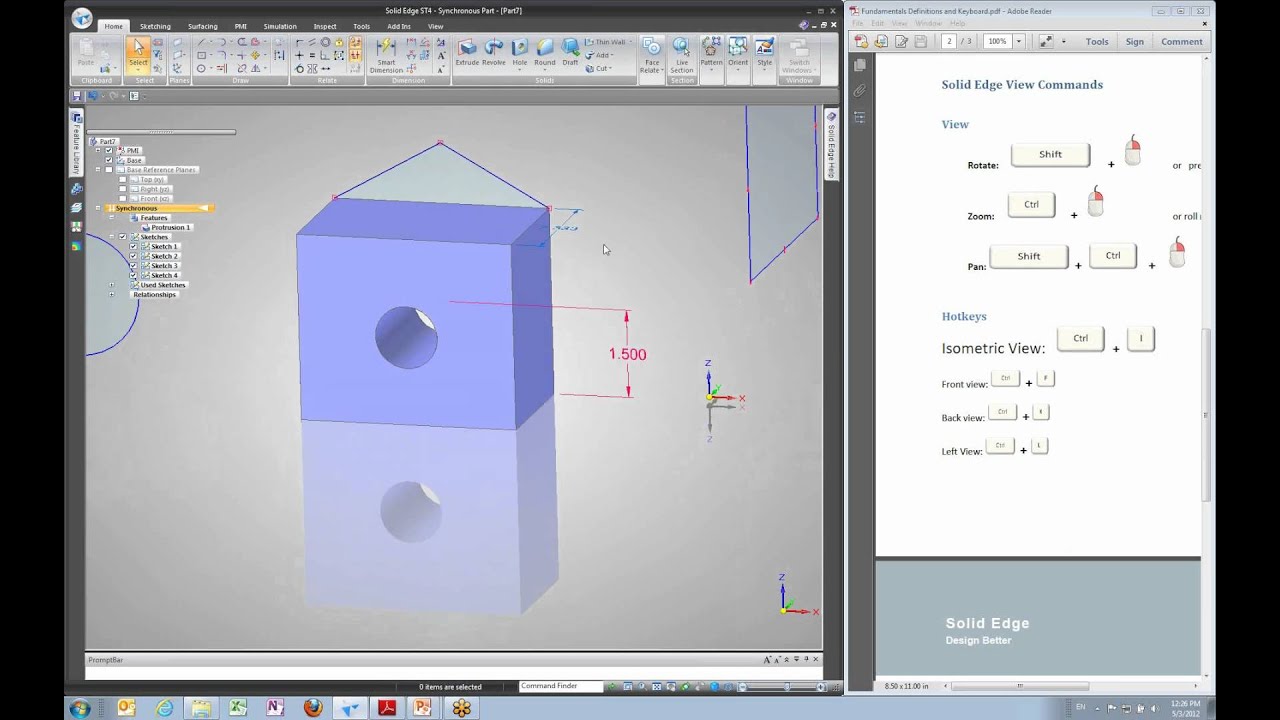
Overview and Introduction
-
001 - Where to Start?
-
01 - FrameBase - Creating the 3D Model from the Drawing
-
02 - Connecting Rod - Create the following 3D Model
-
03 - Slider
-
04 - Crank
-
05 - Leg
-
06 - Thigh
-
01 - FrameBase - this is the first part to drag into your new assembly
-
02 - Crank - Mate and Align the Crank to the FrameBase
-
03 - Slider
-
04 - ConnectingRod
-
05 - Motion Check by Dragging the Crank
-
06 - Checking Interference
-
07 - Thigh - Add and Constrain to the Assembly
-
08 - Leg
-
09 - Motion - Add Motor and Test
-
10 - Add in te Second Thigh
-
11 - Add in the Second Leg
-
Creating the 3D CAD Model for the Body
-
Creating the Arms
-
13 - Adding in the Body
-
14 - Extended Slider
-
15 - Assembling the Body to the Mechanism
-
16 - Assembling the Arms to the Mechanism
-
17 - Checking the Motion to Insure Everything Moves Correctly
-
18 - Design Modifications - Shortening the Legs
-
19 - Fixing the Interference Problems
-
Fixing Interference and Improving the Leg Design
-
20 - Form - Fit - Function - ConnectingRod
-
21 - Improving the Crank Design
-
22 - Replacing the Legs
-
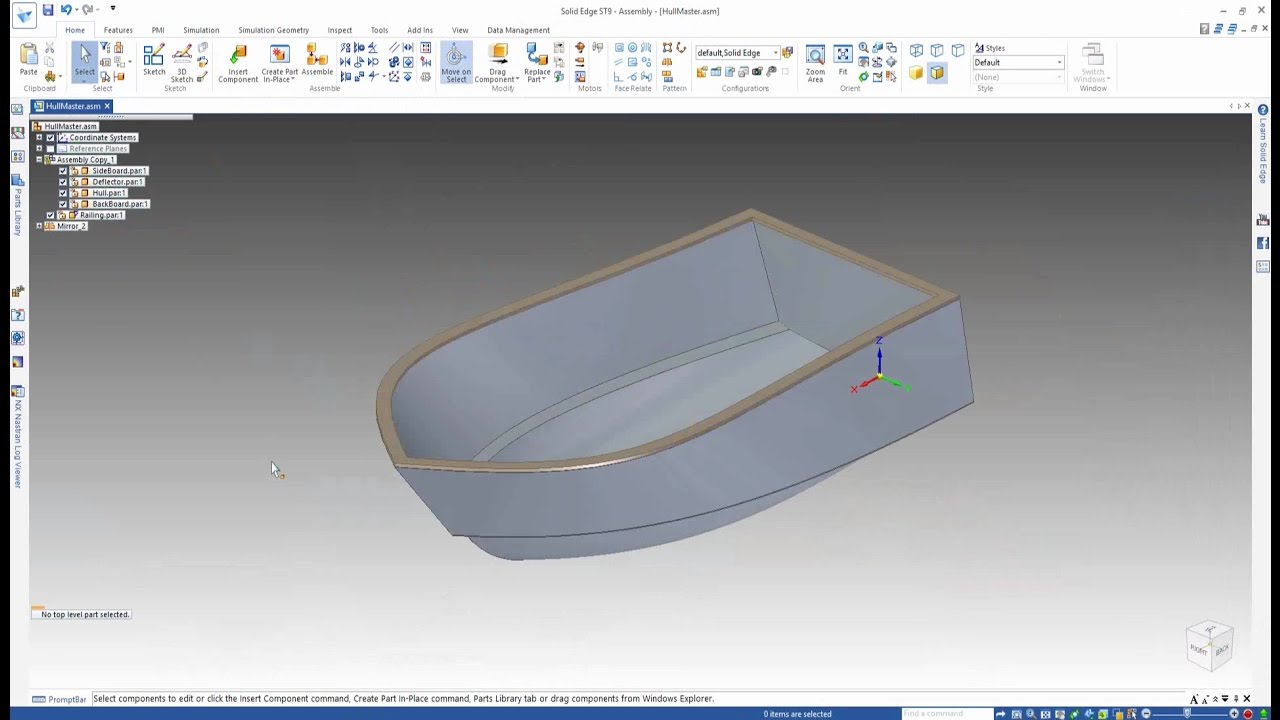
23 - Designing the Boat - Designing in the Context of an Assembly
-
Oars - Creating the 3D Model
-
Oar Holder
-
24 - Adding the Oars
-
25 - Improving the Design - Assembling without Screws
-
3D Printing the Rowboat