Description
In this course, you will learn:
Start learning about the interface and the elements you'll need to make a 3D scene in the pre-production phase.
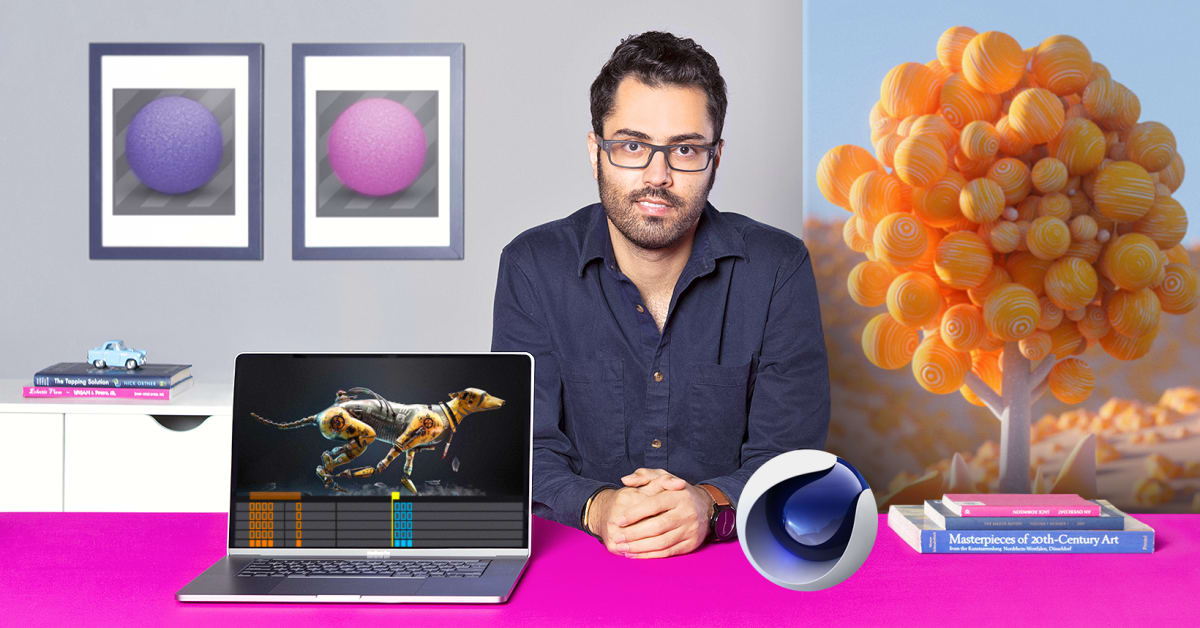
After that, follow Farid's step-by-step instructions to create your 3D scene. Using Redshift, learn how to add textures and lighting to improve the overall appearance and feel of your work.
Finally, use Farid's instructions for altering and controlling your image to begin working on the post-production part of your scene.
To make the last changes and add some finishing touches to your scene, use Photoshop adjustment layers, Camera RAW, and Redshift AOVs.
Syllabus:
-
Introduction
-
Introduction
-
Influences
-
What Will We Do in this Course?
-
-
Cinema 4D and Redshift Fundamentals
-
Cinema 4D Interface and Menus
-
Cinema 4D Primitive Objects, Tools and Deformers 1
-
Cinema 4D Primitive Objects, Tools and Deformers 2
-
Cinema 4D Tags, Cloners and Effectors 1
-
Cinema 4D Tags, Cloners and Effectors 2
-
Redshift Interface and Objects 1
-
Redshift Interface and Objects 2
-
Redshift Lights and Graph Editor Nodes 1
-
Redshift Lights and Graph Editor Nodes 2
-
-
Your First 3D Project (Part 1)
-
Making the Field Base
-
Creating the Hero: Stylish Tree
-
Set Up the Camera
-
Making Stylish Bushes and Plants
-
Scattering Bushes On the Field
-
-
Your First 3D Project (Part 2)
-
Set Up the Lighting
-
Creating Materials
-
Final Tweaks On Render Setting and Camera
-
Redshift Post-production and AOVs
-
-
Enhance the Look and Feel
-
Working with AOVs
-
Color and Light Adjustment in Photoshop
-
Camera RAW Filter in Photoshop
-
-
Final Project
-
3D Animation with Cinema 4D and Redshift for Beginners
-
